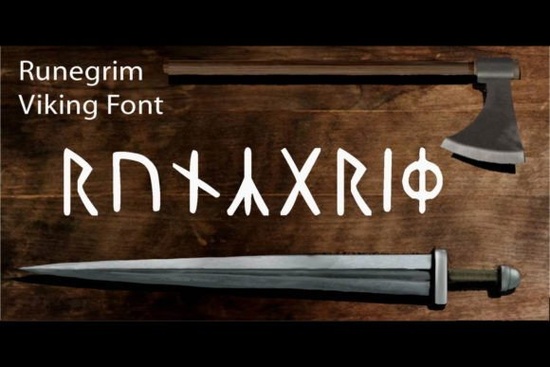
If you have ever tried to design clothing or handmade crafts with an authentic Norse aesthetic, you know how frustrating it is to find legible rune-style lettering. The Runegrim Font solves that problem by giving you a complete alphabet built directly from Ancient Viking Rune Script, so you can type normally while your projects instantly gain that historical edge. Instead of manually drawing each symbol or wrestling with special character codes, you simply select the text tool and let the glyphs handle themselves. This makes it especially helpful for small business owners and print-on-demand sellers who need consistent output across dozens of designs without slowing down their workflow.
What Makes This Type Ideal for Merch Production?
Hand-lettering runes takes time, and consistency is rarely perfect unless you practice daily. When you apply a ready-made set to t-shirts, mugs, or wood-burned items, the strokes stay uniform across every line. You also get proper spacing and baseline alignment, which prevents that cramped look many beginners encounter. The file works natively in standard design programs, so you do not need to import complicated vector shapes or convert symbols through third-party converters. If you want to experiment with a broader library of stylized letters, checking out Runegrim will show you exactly how the ligatures and alternate characters behave in real layouts.
How Do You Balance Heavy Glyphs Without Cluttering Layouts?
Strong geometric shapes demand balance, which is why pairing strategies matter more than random styling choices. A single headline often looks complete when combined with something lighter or more fluid. Many crafters run a supporting phrase through Walt Melody to soften the overall message, creating a clear visual hierarchy. You might also place a smaller caption underneath using Big Alphabet Tracing to introduce a casual, modern touch that appeals to younger audiences. If your project leans toward moody or atmospheric branding, night sky themes and dark palettes work exceptionally well alongside Night Guy. Seasonal collections benefit from flexible display options, which is why exploring event-ready variations helps you rotate styles without losing visual cohesion. Finally, you can preview additional layout ideas by visiting the Runegrim showcase page to see how other creators arranged similar heavy-type compositions.
Where Should You Place These Designs for Maximum Impact?
Apparel remains the most common use case because the thick, angular strokes survive printing processes like screen printing, vinyl cutting, and sublimation. You can center a chest placement for a minimalist tee, wrap a sleeve border, or stack lines vertically along a backpack strap. Handicraft enthusiasts frequently use it for stamped leather patches, carved wooden signs, and etched glassware. The clean negative space in each character also translates nicely to embossing tools and laser engravers. Just remember to test your mockup at actual size before sending files to production, since small gaps in the runic forms can bleed together if scaled down too far.
What Technical Settings Prevent Blurry Prints or Cutting Errors?
Most users receive a standard package that supports basic Latin characters styled to match the runic theme. Always check the kerning table in your editing software, especially when placing consonant clusters together. Kerning adjusts the space between specific letter pairs, and skipping this step often creates awkward white gaps in words like WEAVE or STURM. Convert your final artwork to outlines or high-resolution PDF files when working with heat press vendors, since some printers struggle with complex glyph rendering. Keep a backup layer visible so you can adjust spacing without redrawing everything.
- Verify licensing terms: Confirm whether commercial use covers unlimited print runs, personal crafting limits, and marketplace restrictions.
- Match resolution settings: Export vector files when possible; otherwise use 300 DPI raster images to maintain crisp edges.
- Preview at full scale: Zoom to one hundred percent on your monitor and hold the physical item at normal viewing distance.
- Document color modes: Use CMYK for professional offset prints and RGB for digital proofs or lightjet processes.
Which Workflows Save Time Between Design and Fulfillment?
Create a master template with your preferred measurements already locked in. Save three preset sizes for common placements like upper left chest, centered back panels, and vertical spine labels. Group your text layers under clear names so reusing elements across different product lines stays organized. When combining multiple display types, limit yourself to two distinct styles per layout to maintain readability. Keep a separate folder for approved colorways and fabric swatches so your next batch requires minimal adjustments. These small habits reduce revision cycles and keep your production schedule predictable.
Next Steps
Download a trial version, open your favorite mockup generator, and test one headline plus one supporting sentence. Adjust tracking until the negative space feels balanced, then export a single proof sheet. Print it, cut out the template, and tape it to a sample item before ordering materials. Test once, print twice this simple habit catches alignment issues before you commit to bulk inventory.
Get Started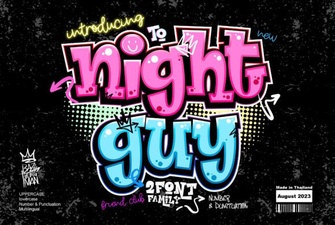 Night Guy Font: Creative Design Projects & Tutorials
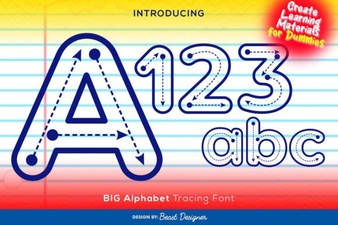 Creative Fonts for Tracing Large Letters & Numbers
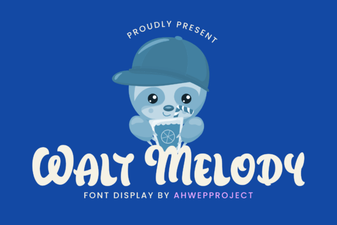 Crafting with the Walt Melody Font
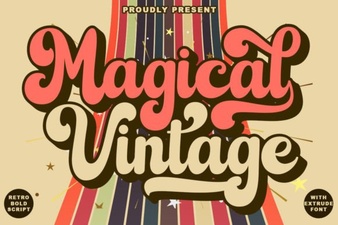 Magical Vintage Font Styles for Modern Design
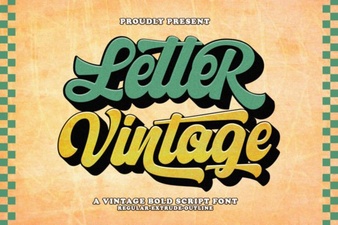 Vintage Lettering Fonts for Timeless Design Projects
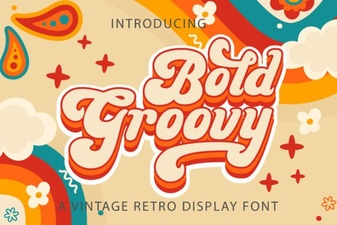 Groovy Font Designs for Bold & Creative Projects