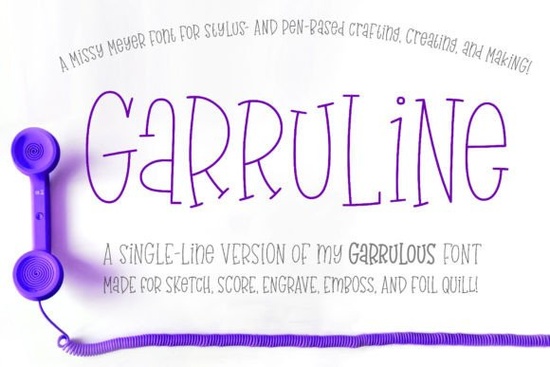
If you work with laser cutters, sublimation presses, or vinyl plotters that require continuous line paths, you already know how frustrating it is when standard fonts refuse to break down into usable vectors. That is where Garruline (single Line) Font steps in. Instead of delivering thick outlines that split into separate pieces, this typeface draws letters exactly like a pencil or a sketch pen would, giving you smooth, unbroken paths ready for tracing, engraving, or foil stamping.
What actually changes when a font uses a single-line layout?
Regular display typefaces rely on filled shapes and negative space to form characters. When you convert those to cutting files or engraving paths, the software often duplicates edges, creates overlapping strokes, or generates messy corner artifacts. A single-line format removes the fill entirely. Each glyph becomes a series of connected curves and straight segments that mimic the pressure shifts of a calligraphy nib or a fine-point marker. Because of this structural difference, the letters often look oddly thin or skeletal in basic font previewers, which is completely normal. You will never see their true behavior until you import them into design software and apply a pure stroke without any background fill.
How does GarruLine handle letters and special features?
The designer took the original hand-written serif style called GarruLine and carefully rebuilt it into a continuous path system. Even though the files are delivered as standard TrueType formats, every character is mapped using OpenType rules and Private Use Area codes so modern programs recognize them correctly. You get two distinct uppercase heights alongside a dedicated lowercase alphabet, plus thirty custom double-letter ligature pairs that keep connected handwriting looking fluid. With over three hundred extended Latin characters for broader language support, you reach past five hundred thirty total glyphs. You can drop these straight into Adobe Illustrator, CorelDRAW, Affinity Designer, or Inkscape. Just remember to switch the fill color to none, set your desired stroke weight, and then expand the text to outlines so your plotting tool reads clean coordinate data instead of editable text boxes.
Many crafters and print-on-demand sellers prefer this approach because it eliminates the guessing game when layering sublimation transfers or scoring decorative borders on wood and acrylic sheets. When comparing this continuous path approach to other outline-focused typefaces, you can review the detailed technical specs here: typeface breakdown. The file package also includes a downloadable PDF that walks you through the exact workflow for turning typography into precise physical cuts.
Do you need the single-line version or the hairline alternative?
Both versions share the same letterforms, but they differ in how certain software calculates path direction and endpoint math. Some cutting programs trace centerlines differently, which means one variant might produce cleaner corners on your specific brand of plotter or engraver. Since the installation process costs nothing extra, it makes sense to load both folders onto your computer. Open your preferred design application, test a short phrase with each typeface, run a quick simulation cut, and keep whichever version produces fewer stray ticks or doubled lines. Be aware that older ecosystem software sometimes struggles with continuous path data. As of now, Brother Canvas Workspace has known conflicts with single-line encoding, so you may need to export to SVG first or stick to simpler applications like Inkscape if you rely heavily on that platform. Always verify your machine’s manual before ordering high-stakes materials.
Quick setup checklist for your next project
- Install both the single-line and hairline files into your operating system folder.
- Open your vector program and set the text fill to transparent or none.
- Apply a uniform stroke width, then convert the text to paths or outlines.
- Remove unnecessary anchor points and tighten loose curves before exporting.
- Run a low-power test on scrap material to confirm corner behavior.
- Keep the included PDF reference open while working to match your nib or blade settings.
Once you finish those verification steps, your designs will translate cleanly from screen to physical surface without unexpected gaps or overlapping tracks. Experiment with varying stroke weights before finalizing, since slightly thicker paths often hide minor software rounding errors during the cutting phase.
Get Started Hickery Font: Creative Typography for Your Projects
 Night Guy Font: Creative Design Projects & Tutorials
 Creative Fonts for Tracing Large Letters & Numbers
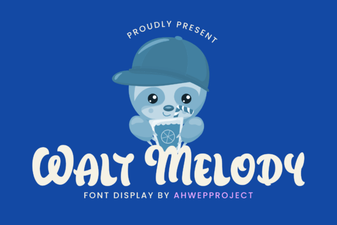 Crafting with the Walt Melody Font
 Golden Brown Fonts: Design Inspiration & Best Uses
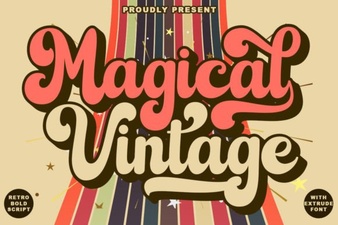 Magical Vintage Font Styles for Modern Design